
Published on Thursday, December 26, 2024
How to Configuring Path Aliases in a Vite App: Two Methods
Posted by
Video Tutorial
Prerequisites
To follow along, ensure you have the following:
Step 1: Add Path Aliases to tsconfig.json
Both methods require defining aliases in your tsconfig.json file. This maps the @ alias to the src directory.
{
  "compilerOptions": {
    "baseUrl": ".",
    "paths": {
      "@/*": ["./src/*"]
    }
  }
}
Step 2: Resolve Path Aliases
Method 1: Manual Configuration
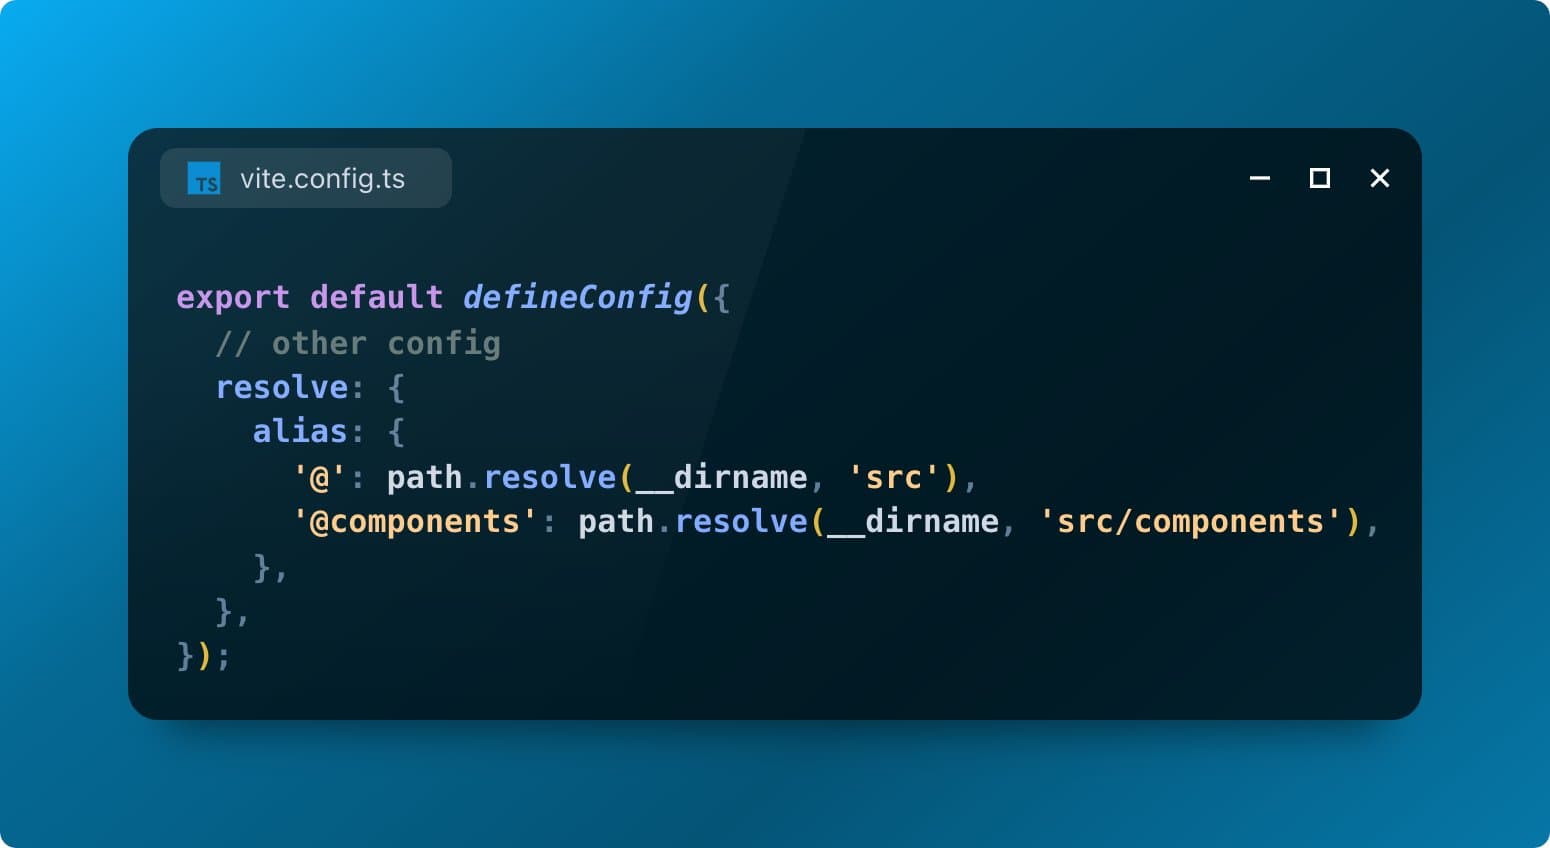
Edit vite.config.ts to include the alias:
import path from "node:path";
import { defineConfig } from "vite";

export default defineConfig({
  resolve: {
    alias: {
      "@": path.resolve(__dirname, "src"),
    },
  },
});
Method 2: Using vite-tsconfig-paths Plugin
Install the Plugin
Run the following command:
npm install -D vite-tsconfig-paths
Update Vite Configuration
Add the plugin to your vite.config.ts:
import { defineConfig } from "vite";
import tsconfigPaths from "vite-tsconfig-paths";

export default defineConfig({
  plugins: [tsconfigPaths()],
});
This plugin automatically reads aliases from tsconfig.json, eliminating manual setup in vite.config.ts.
Step 3: Test the Path Alias
Replace relative imports with @ in your code. For example:
Before:
import MyComponent from "../../components/MyComponent";
After:
import MyComponent from "@/components/MyComponent";
Step 4 (Optional): Configure ESLint for Path Aliases
If you're using ESLint, update .eslintrc.js to recognize the alias:
module.exports = {
  settings: {
    "import/resolver": {
      typescript: {}
    }
  }
};
This ensures smooth linting for imports using @.
Conclusion
Path aliases simplify imports and enhance code organization. The manual method offers full control, while the vite-tsconfig-paths plugin streamlines the process. Choose the approach that best suits your project and enjoy cleaner, more maintainable code!