
Published on Thursday, December 26, 2024
How to Create a Cronjob in Next.js on Vercel
Posted by
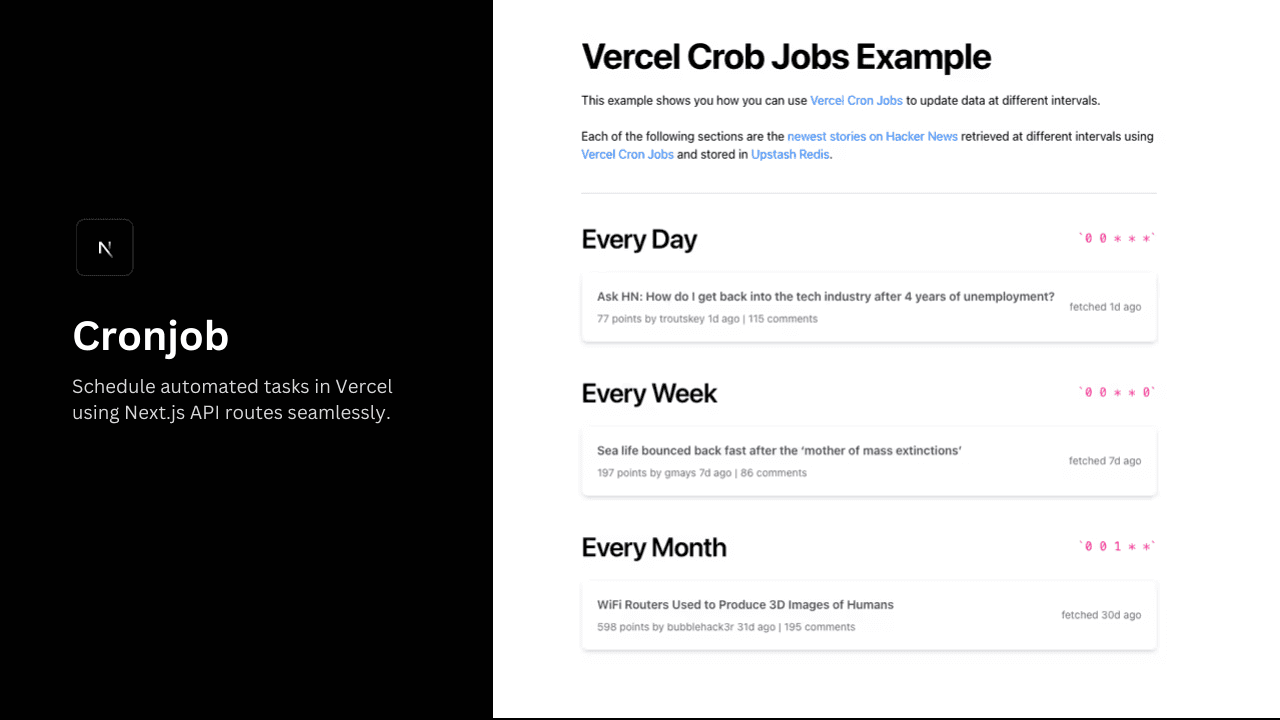
Prerequisites
Before we start, make sure you have:
- A Vercel account.
- A Next.js project ready to deploy.
- Familiarity with cron expressions.
Video Tutorial
Step 1: Create a New Next.js App
First, if you haven't already created a Next.js app, use the following command to create one:
npx create-next-app next-cronjob
Step 2: Create the Cron Job API Route
Create a serverless API route that will be triggered by Vercel's cron job scheduler to execute the desired functionality.
// app/api/cron/route.ts
import { type NextRequest, NextResponse } from 'next/server'

export async function GET(
  req: NextRequest
) {
  return new NextResponse.json(
    { message: 'Cron job executed successfully' }),
    { status: 200 }
  );
}
Step 3: Configure the Cron Job in vercel.json
In the vercel.json file, add your cron job configuration:
// vercel.json
{
  "crons": [
    {
      "path": "/api/cron",
      "schedule": "0 5 * * *"
    }
  ]
}
This will run the cron job every day at 5:00 AM UTC.
Note:
If you're unsure how to write the cron job schedule, refer to the Vercel Cron Jobs documentation for details on cron expressions and how to configure them.
Step 4 (Optional): Secure Your Cron Job
Add a CRON_SECRET environment variable to your Vercel project for extra security. Use this command to generate a secret:
node -e "console.log(require('crypto').randomBytes(32).toString('hex'))"
Command Output:
c2b61cc7507a0b46dc893455e1647276be63782bab0270556c32e928906f4e68
Then, update your API route:
// app/api/cron/route.ts
import { type NextRequest, NextResponse } from 'next/server'

export async function GET(
  req: NextRequest
) {
  // If token is valid, proceed with the API logic
  const authToken = req.headers.get('authorization')?.replace('Bearer ', '');

  if (authToken !== process.env.CRON_SECRET) {
    return NextResponse.json(
      { error: 'Unauthorized access. Invalid token.' },
      { status: 401 }
    );
  }

  return new NextResponse.json(
    { message: 'Secure API accessed successfully' }),
    { status: 200 }
  );
}
Important:
When Vercel calls the cron job API, it uses the environment variable CRON_SECRET. Make sure your environment variable is named exactly as CRON_SECRET, or it won't work.
Step 5: Deploy to Vercel
Deploy your app by connecting your Git repository to Vercel or using the Vercel CLI:
vercel deploy --prod
Once deployed, your cron job will be scheduled automatically.
Step 6: Monitor Cron Jobs
In the Vercel dashboard:
- Go to Settings > Cron Jobs.
- You can view, run manually, and check logs for cron jobs.
Cron Job Usage & Limits on Plans
Cron jobs are available on all Vercel plans and invoke Serverless or Edge Functions, adhering to the same usage and pricing limits.
Plan Limits:
| Plan | Number of cron jobs per account | Schedule |
|---|---|---|
| Hobby | 2 cron jobs | Triggered once a day |
| Pro | 40 cron jobs | Unlimited cron invocations |
| Enterprise | 100 cron jobs | Unlimited cron invocations |
Each project has a hard limit of 20 cron jobs.
Hobby Scheduling Limits::
On the Hobby plan, cron job invocations may vary in timing. For example, a job scheduled for 0 1 * * * (1:00 AM daily) could run anytime between 1:00 AM and 1:59 AM. For precise scheduling, consider upgrading to the Pro plan
Conclusion
With Vercel's cron jobs, you can easily automate tasks like data syncing or email sending in your Next.js app. Simply set up an API route, configure it in vercel.json, and deploy. You can also secure and monitor your cron jobs directly from the Vercel dashboard.